Belt Path

Parts List
- GT2 Belt (~5 meters)
- Zip ties (x4)
- M4x26 Bolt w/Flat Head (x4)
Belt Loop
Attaching the belts is easy in theory but tricky in practice. The image below will show the belt path for both belts. The Red belt will be the top belt and will wrap around the top pullies and the Blue Belt will be the bottom belt and wrap around the bottom pullies.
Before beginning make sure to loosen the Nema 17 motors and move them to the right (when looking at them from above). Once the belt is on you can move the motors to the left to tighten the belt.
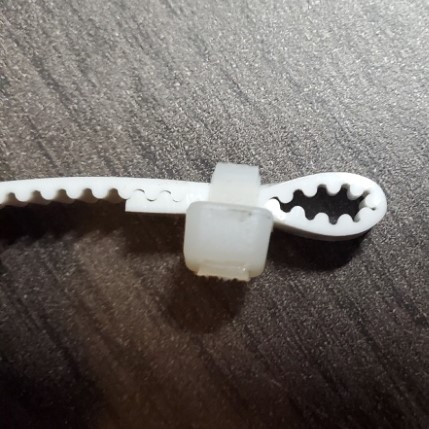
To hold the belts to the Extruder Mount Plate you will use a zip tie. What you do is fold the belt onto itself so the teeth interlock with each other to form a small loop. Then put an M4x26 Bolt halfway into the Extruder Mount Plate and slide the loop under the half inserted bolt, then tighten the bolt the rest of the way (careful not to overtighten). Then three the belt through the pullies and cut the belt to length. Create a second loop and install the belt the same way as before. It is better to have too much belt than two little. I suggest cutting the belt just a little longer than it needs to be and have the belt be a little loose, that way you can always tighten the belt later.
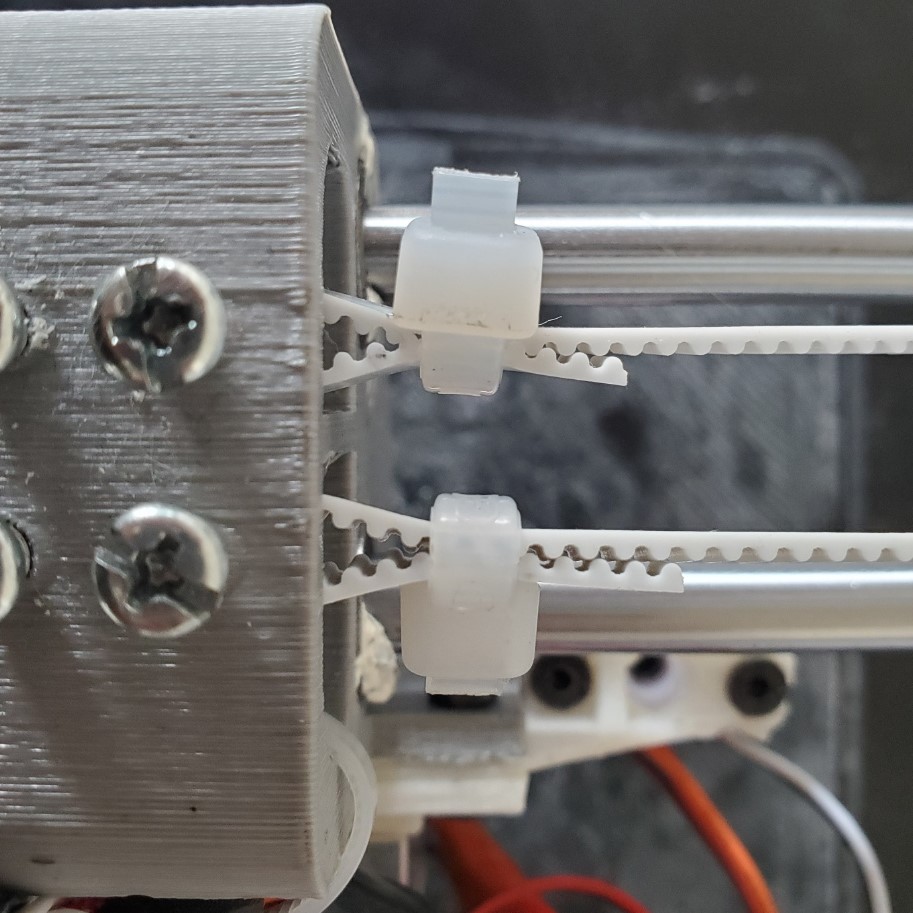
The image below is when you’re looking at the printer from the top.

Belt Tension
Once you have the belt installed you will need to tension it. To do this loosen the Nema 17 motors and pull them back (to the left of the printer) to tighten the belt. Make sure the linear rods are perpendicular to each other, otherwise you will get skewed prints. Also, adjust the Nema 17 GT2 Gear Pully so the belts are straight and flat.